Spent about an hour cleaning and vacuming out the work area in the basement. This is pretty key to eliminate dust being kicked up and settling in the epoxy as it drys. I probably should have wiped down the ceiling, but all I did was wipe the over head dust collecter and lights.
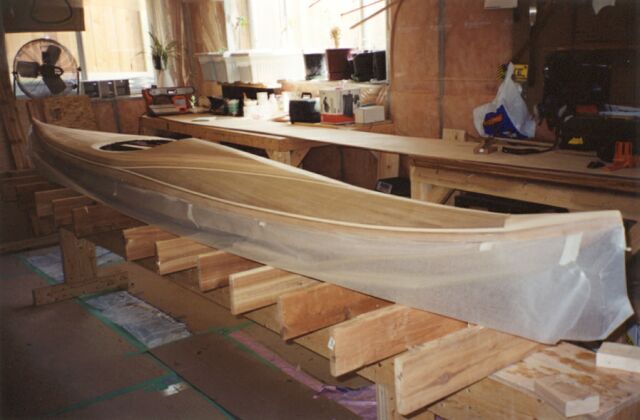
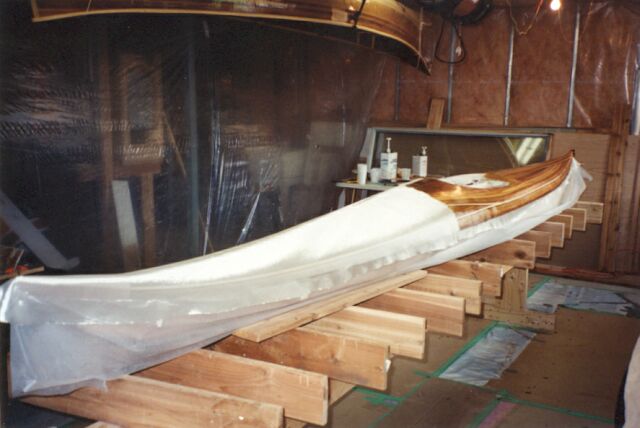
I spent about 2 hours prepairing for the fiberglass today, including more cleaning up today, the area could use more, but I'm getting impatient to get this darn boat on the water. I've put some wax paper between the Hull and the deck to prevent the epoxy from getting all over the hull of the deck.
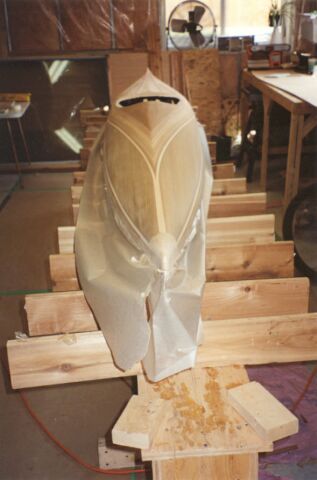
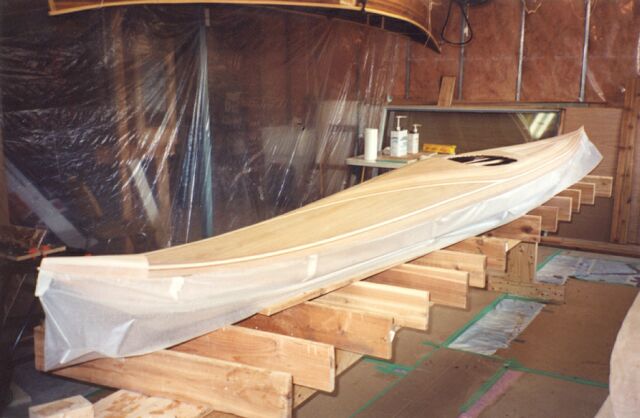
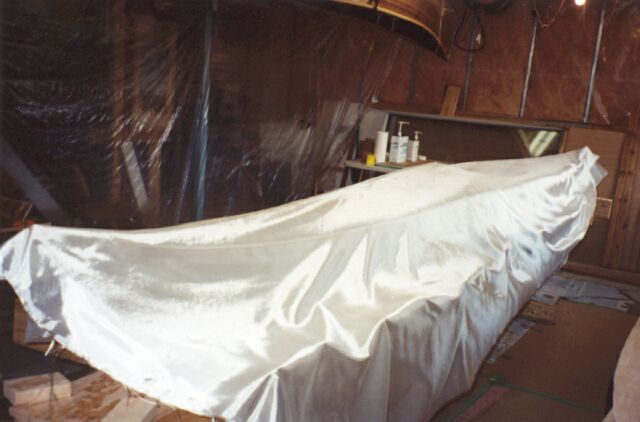
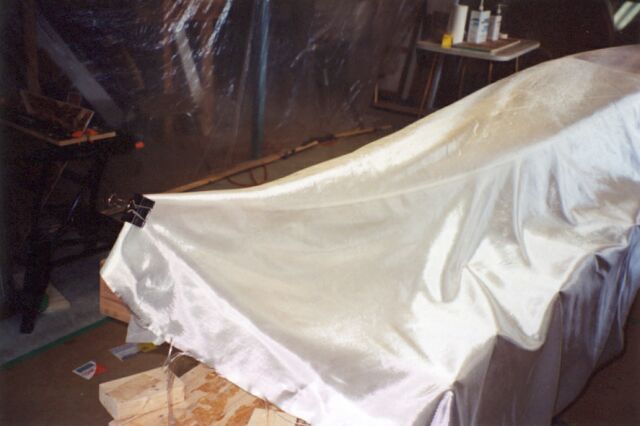
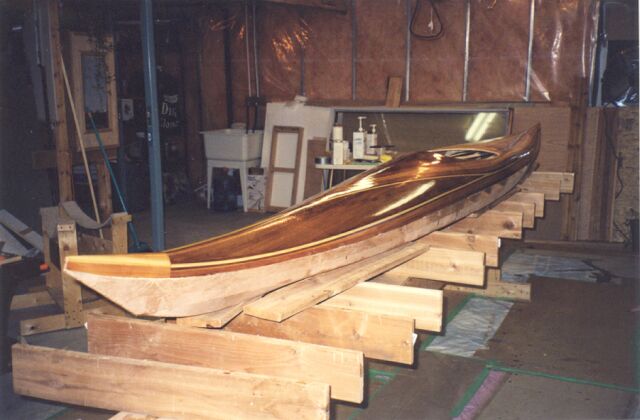
I also draped the cloth on to the kayak. Note that I draped this out corner to corner, in an attempt to get a little bit of a biased layout of the glass. A Biased layout is where the strands run at an angle to any bends that the glass has to make. This makes wrapping the glass around the bend a fair bit easier. This took all of 15 minutes or so.
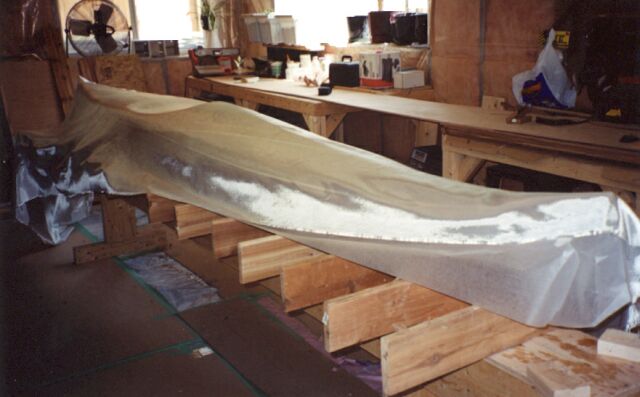
I trimmed off the fiberglass to over hang the edge of the deck
by about an inch, and smoothed out the fiberglass with a paint brush.
Now I'm ready to do the epxoy tomorrow. Smoothing took about 45 minutes
to get it just right. I've snapped several pictures of the sequence
and will add them once I get my scanner working again
Well Fiberglassing takes pretty much a full day (the way I do it, with the West Epoxy system), and today is the big day.
Fiberglassing: There is lots of discussion how to do fiberglassing for kayaks and canoes. There are lots of differnet brands of epoxy, all with different characteristics on how they are used. (Raka, MAS, System 3 , East, West, Formulations, and more). Eposy viscosity (or thickness), drying time, fumes, and such vary from brand to brand. There are may different methods for epoxying down fiberglass to the kayak. Variables include: Personal prefernce, the local climate, the type of epoxy used, and probably others I'm just not thinking about right now. Anyways the point being that this is a warning, if you are building a boat and are using this web page as a reference, you could cause considerable grief to yourself with this stage. It is best to us the instructions that come with your epoxy. Having said that I'll try and include both my specific setup, and provide the general rational. I'm not an expert at this by the way.
The first pointer when it comes to laying up epoxy is that you do not want to have the temperature increasing while the epoxy is drying/setting-up. If the temperature is increasing, any air within the holes of the wood will expand and be forced out into the epoxy, this causes air bubles to form between the wood and the fiberglass. Conversly if the temperature is dropping, then the air within the wood will contract, sucking epoxy into the void, this is ideal(provided it does not suck in so much that the fiberglass becomes starved of epoxy. Some folks heat up the work room for several hours and turn down the heat when they start to work. I simply wait until the days high temperature has been reached, and start the epoxy process.
First Coat Application: There are two basic application techniques that I consider when putting on epoxy. One I got from the Book CanoeCraft by Ted Moores , and the second as presented by Nick Schade in the book The Strip Build Sea KayaK (TBV) . The first is by using a brush to spread the epoxy out in a first pass, let it soak into the fiberglass, and squeege exess off after letting it set in for 20 minutes (West brand epoxy). The advantage to this is that you get a good inital spread, and endup squeeging off less waste epoxy. The second Method has the person pour the epoxy onto the fiberglass, and spread it out with a squeege, then later squeege down to remove any excess. This seems to be a faster method, however I use the first.
The (or rather a) second issue with putting on the epoxy is the start point. you can work from end to end, or from center to end. Going from End keeps timing easier when it comes to going back and squeegeing a section after 20 minutes. (The 20 minutes is the time for saturation into the fiberglass and wood for West system epoxy, as balanced by the cure/working time of the epoxy, it could be longer for other brands). Starting from the center makes the generation of any wrinkles as work less of a problem, as they are only pushed back over 1/2 the hull.
Wow, I'm seem to be doing alot of typing on this section, I'm stuck out of town as I write this up, so have lots of time. So I finished my first coat of Epoxy around 4:30. This brings a thrid point to epoxy use to mind. That being the Chemical bond vs Mechanical bond . Chemical bonding occurs when the epoxy is not fully cured, and the next layer of epoxy is applied. With a non blushing epoxy this is easy to do, when the first coat is no longer tacky, but still soft (dents with a fingernail) put the next coat on. For West sysem epoxy this is around 5-6hrs after application. Others, can be as long as 12 or 24 hours later. Mechanical Bond is done by allowing the first coat to harden beyond the 'still soft' point and sanding it with 100-150(??)grit sand paper prior to putting the next coat on.
More on why I prefer chemical bond.
OK back to what I did, not just general thoughts. I used a soft plastic wall paper sqeege. However I should have bough more, as it is soft, and seems to easily wear out with little notches in the edge. A quick touch up with sand paper removes these. I took several pictures both after the first and second coats of epoxy.
First off I do a re smooth of the fiberglass with my brush, making sure very thing is laying nice and flat on the deck. Then on to putting down the fiberglass.
I begin putting epoxy onto the deck at 2:45, a bit later than I would have liked, but that is life. The first coat of epoxy is the longest to get on, as you are getting it to soak into the weave of the fiberglass. For me this took about 1hr and 45 minutes to do.
Because I am using West Epoxy, which sets up faster than several of the other brands, I work from end to end. However end to end, involves starting out about 20 inches from one end, and working to the tip. The working back accross the rest of the hull. This give a good anchor point so the fiberglass does not shift when you are starting out. Complete details on this technique are in Ted's Book.


Because I pre cut the edge of the fiberglass, earlier
so I could save the excess for later, I have set myself up for
two trade offs. The first is apperant now. that being that any
shifing of the glass by more than the 1.5 inches or so I left for
overhang puts me in jepordy of having the glass shift past the
edge of the deck, and not cover
some wood. This almost happened and I had to push the
fiberglass back a litte bit while it was wet, to prevent it. The
second by the way is not so obvious a problem, that being: several
inches of execess fiberglass will wick up drips that would otherwise
endup on the floor, or workbench.
Note:(later, I find I made the right
choice as the excess fiberglass exactly fit the inside of the deck)
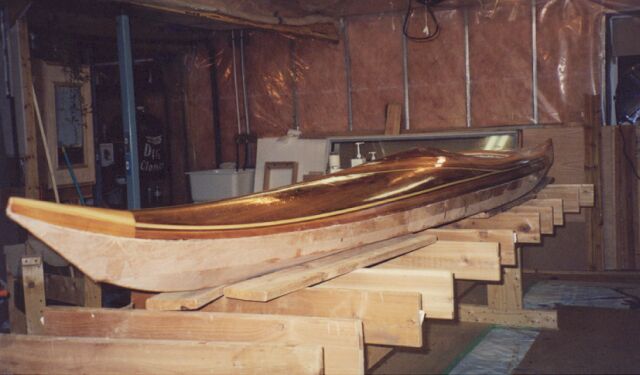
For me I prefer a chemical bond. so I put on the second coat around 10:30 PM... going to be a late night.
The second coat of epoxy is interrupted for me, as it is my Birthday, and several friends start showing up at my place. I simply put the second coat on with a brush, trying to make it thick enough to be a final coat, yet thin enough to prevent runs. I was successful, however, I did not 'tip' off the coat to remove any small bubles. It worked out ok, I do have some bubles, but not to bad. Note, to prevent bubles being put in, go slow with the brush. The second coat took about an hour.
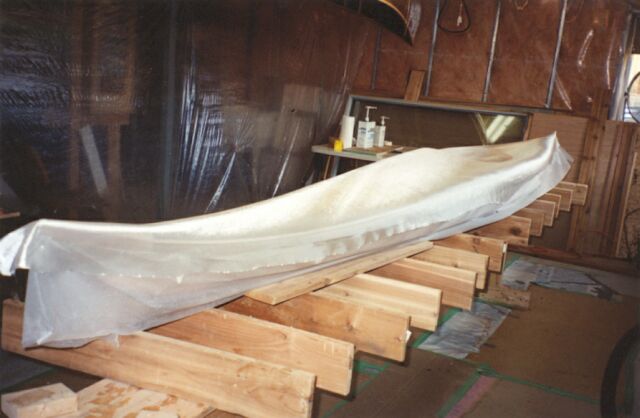
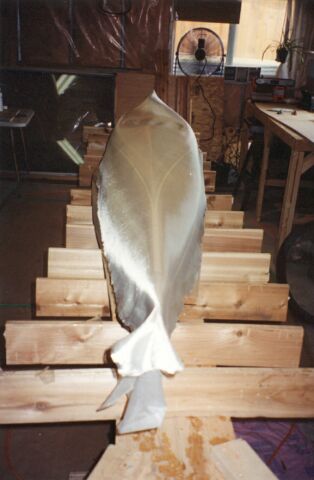
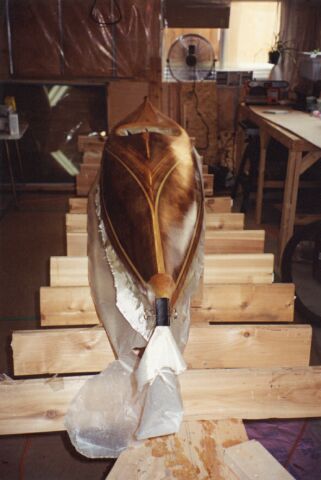
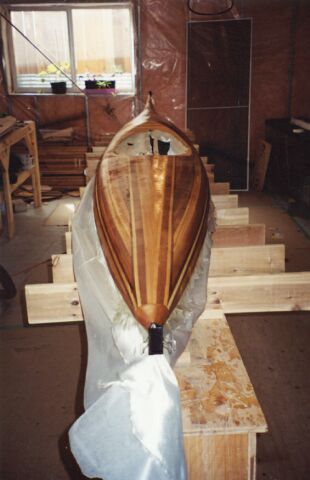
Hmm, looking at the work from last Saturday I regret not tipping off the work last night. Not lots of bubbles, but it could have been better, with only a little more work. I snapped some pictures a few days later after trimming off the overhanging excess fiberglass.

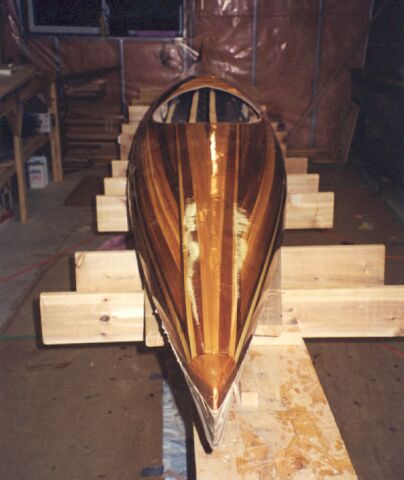
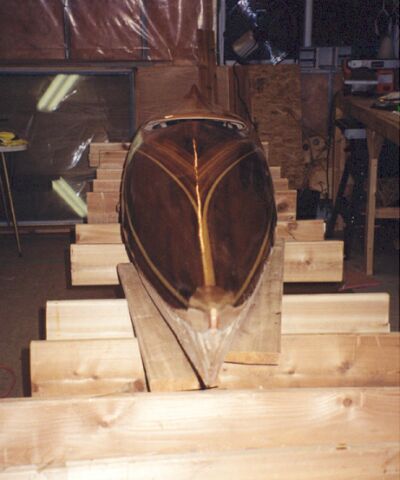
Note: at the very end of the Bow, which seemed to be the section of the kayak that had the most bubles, and the least amount of epoxy. (The ridges from the fiberglass weave were obvious) I later sanded down and put a very thin layer of epoxy on, turned out like glass. Much later in the program I may sand the entire kayak with 150 grit sand paper and put a thin layer of epoxy over the entire kayak.