The recessed cockpit is out of Nick Shades book, "The Strip Build Sea Kayak - three beautiful, rugged boats you can build " The offsets for both the size of the recess and the cockpit can be obtained from the book.
plotted the recess and cockpit, Well actually I gave the table of points to a co-worker and he did it. Thanks Marc P. Turns out the Excel table that I gave to him was not much use, and he entered every point by hand in to an ACAD type program. i
This plot will then form the template that I will use for both the recess and the cockpit.
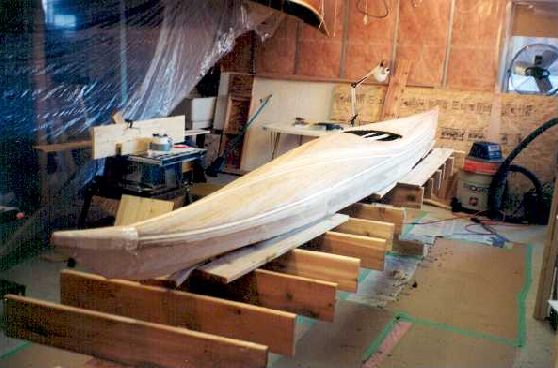
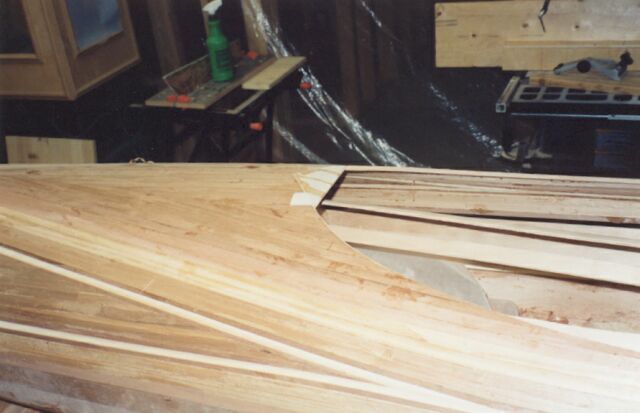
Well, I did spend some time planing one side of my kayak. before I started to work on the cockpit recess. I got the plane over onside of my kayak. I did have a bit of tear out... most of the joints were very good. two I found on one side that were poor, and gaps were between the strips. One gap was due to poor fitting, the second was due to my scarf joint (top to bottom) on a strip being from two strips of different thickness. A gap formed when the adjacent strip could not be pushed down tight.
Having said that I beleive the top to bottom scarf is supperior to the front to back scarf. The line is tighter, although this may be due to my clamping method. When I finish sanding I'll have a better oprinion, of which is better. It would have been nice if I had forced all the strips to have the same thickness, oh well, I had hoped to not have to scarf strips when I was machining them.
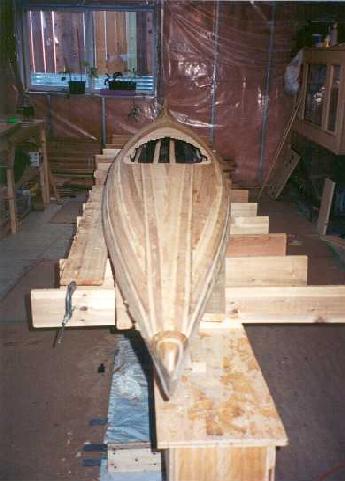
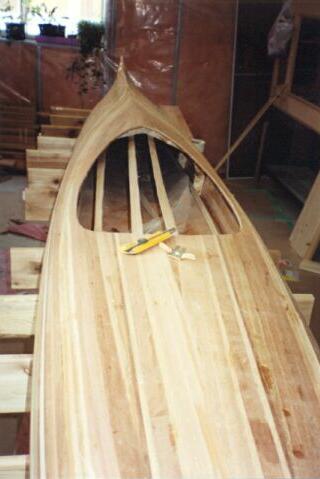
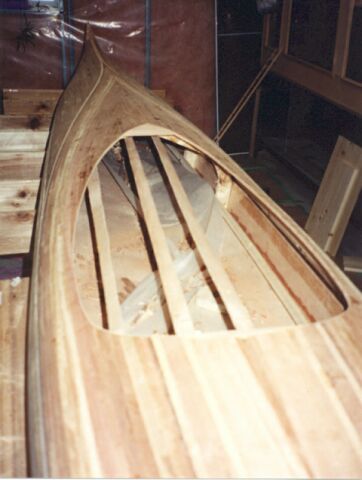
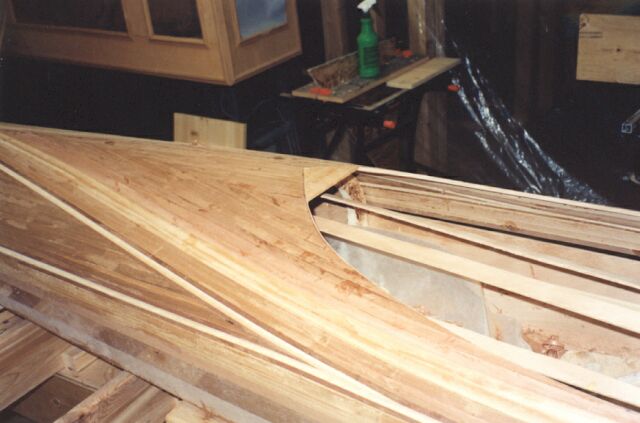
A good day today. I cut out the cockpit template, marked the hole in the deck, then cut it out of the deck the deck. Pretty exciting stuff. the cutout is to the outside of the recess. I also put in a very thin strip on the edge of the cut out, this one is light, I will put a second thin strip on of dark the strip in the recess. We'll see how it turns out. I took a sequence of pictures.
Again a simple think to do is to outline the edge of the template with masking (I suspect packing tape would work well too). Then when you cut out the template you will have a stiffer boarder around the edge, helping the template hold it's shape as you use it to trace out the hole.
A note: Later when I was stripped in the recess, I noticed a bit of a 'problem' It seems that the contour of the boat while the template was used on the hull pulled the sides in a wee bit from the actuall value. The reason I say this is that once the recess was stripped, and the cockpit template was in place the edge of the cockpit template comes right to the edge of the recess on the sides of the kayak. This should not be a problem, just that I think the stripped version of the guillemot may have less peak at the deck, thus less pulling in of the recessed template when it is being used. So I will have less of the recessed cockpit effect at the sides.
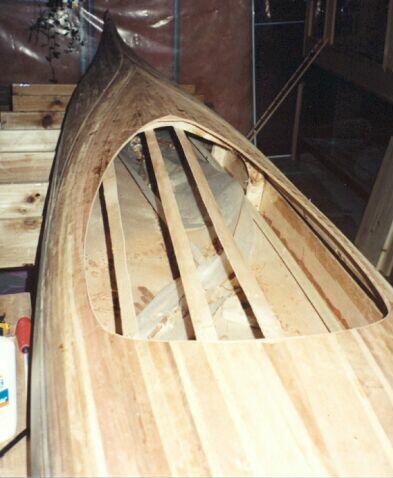
Cut out the cockpit, and squared up the edge with a chisel, and utility knife. To clean up the edge of the cockpit, Iripped a thin bit of light coloured cedar and glued it to the edge of the of the cockpit recess. I tried to cut a similar dark coloured strip, but I was not successful.
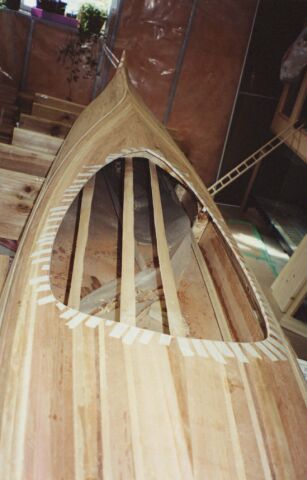
Started stripping in the cockpit recess. I have three strips in so far. These first strips span the entire distance accross the cocpit recess, so neet to be cut very precicely. Here is how I do it:
Note: later I decided that a better (but untried) way would be to simply mark the corner where the strip should fit, on both the strip and the deck and ensure they align, I'll try that next time

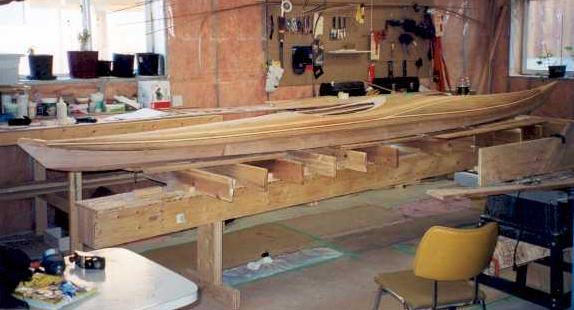
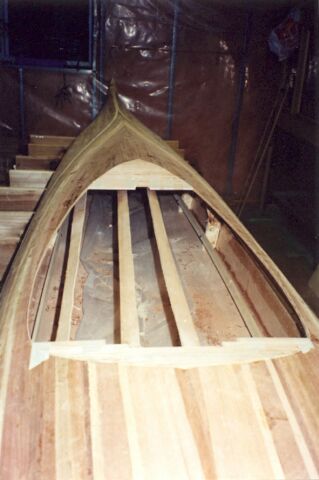
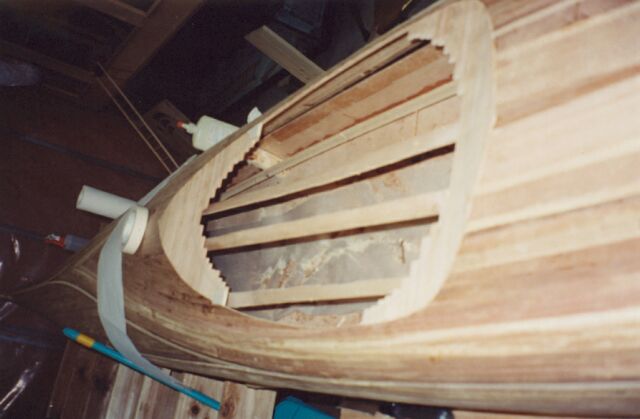
work continues on the recess, The stripping is going much faster once the strips do not span the width of the recess. Also, the cockpit really stiffens up the deck at the front and rear of the cockpit, nice.
I'm not bothering to put 'brace' strips that span the cockpit, rather than that, I'm just putting them up and letting the glue dry. Since I end up putting up 4 strips, before I have to wait, I do not have to wait long. While waiting once in a while I'll take the plane out and work the deck a bit I've spend about 1/2 of the 5 1/4 using the plane.
Also, I'm using regular masking tape to hold the strips in place, this is tearing out the grain a bit on the strips when I pull them out. I've read that the painters version of the masking tape is not so bad at that, but I have none.
Working recess
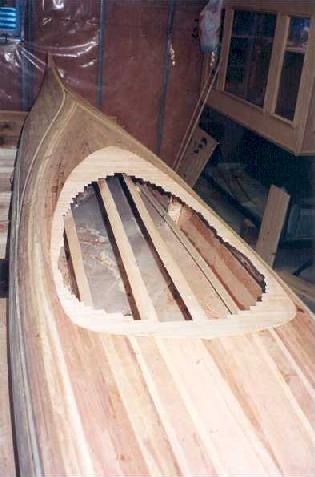
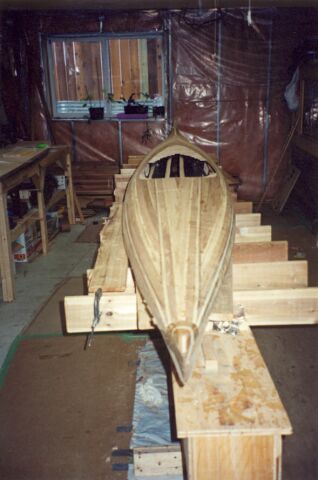
Finished stripping the recess!
There very last pices was a bit of a trick to get in. This was because it was quite small, maybe 3/16ths of an inch. I was smart enought to bevel the edges of the other two strips so I could not worry about a bead/cove issue. The bevel was at a slight angle so I coudl just push downwards and in, and have the last piece in place. The small size of the piece made it a bit tricky to shape with my clumbsy hands.
Well here are some pictures of the almost finished finished cockpit: