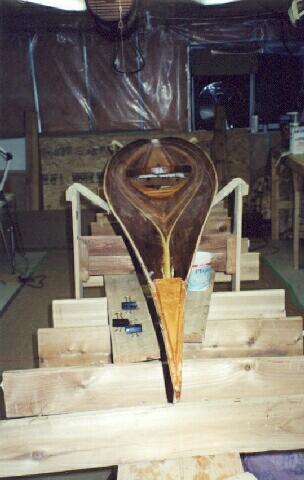
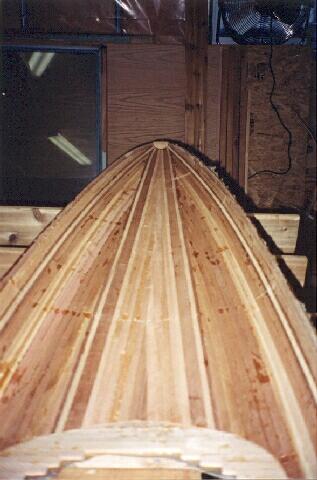
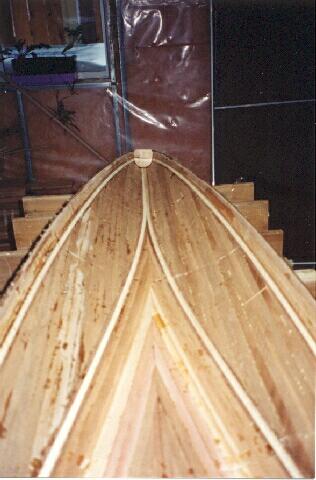
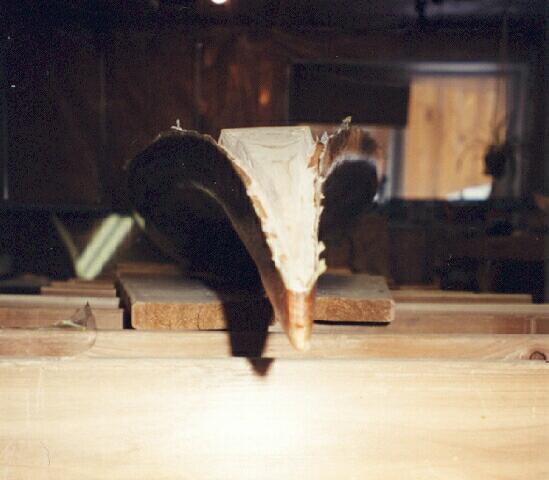
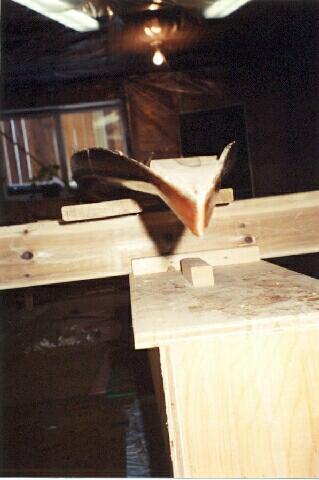
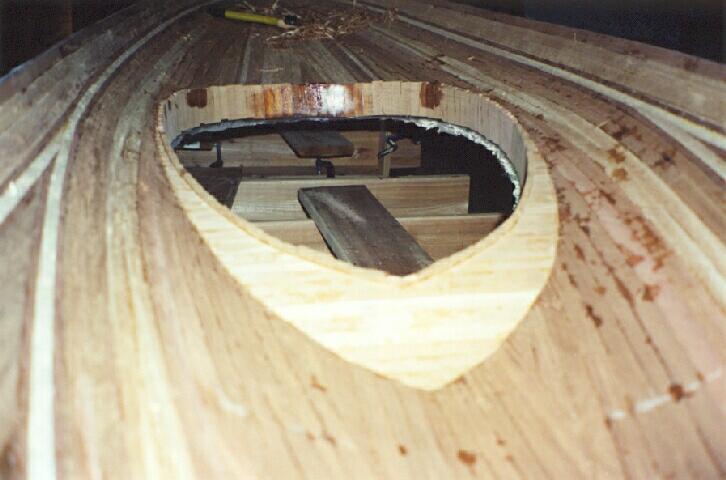
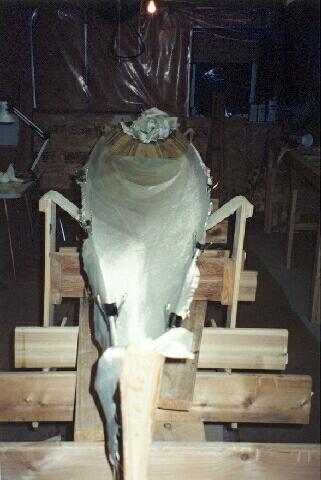
Today I flipped over the deck for the first view of the underside. Took several pictues.

So it seems to me that the way forward is as follows:
Cleaning up the edge of the fiberglass with a utility knife, I believe this is what Americans call a box cutter knife. This is simple, just cut off the fiberglass close to the edge of the wood. The cutting it self is a bit difficult, and would have been easier if I had done it while the epoxy was still slightly green, maybe about 6-7 hourse after I had applied it. The second step in the process is to clean up the edge with a wood rasp. the total time taken is about 45 minutes.
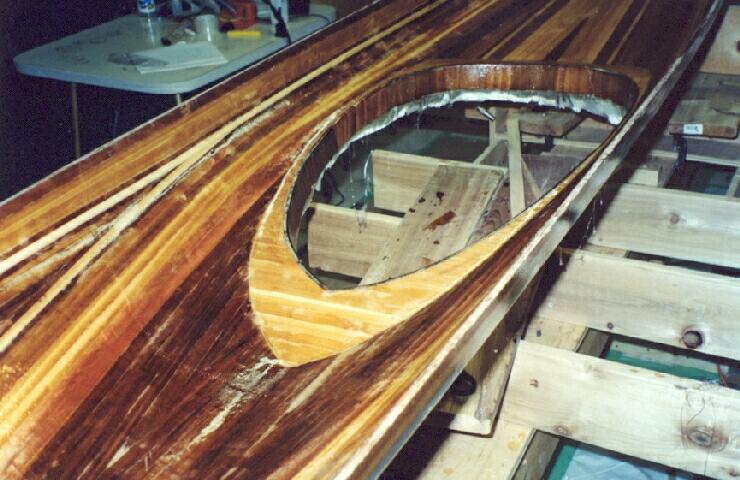
Well, There are lots of gaps (or rather more like'canyons') on the inside of the hull, I'm pretty upset about my quality control. these do not go right through the deck, that is the outside edge is nice and tight (for the most part) but the inside has opened up. The gaps are generally where I had beveled edges, where I've over beveled the pieces I put in. but I've not yet done any fairing, and expect some to open up else where. If I build another cedar strip kayak, I will likely use a method described on work shop of "one Ocean Kayaks" web site. The basic technique is to run strips over the area of your design, then cut them out once they are in place, and fit in the design. This promises to be faster, and neater(?)
Today I also spent about 10 minutes with the scraper to scrape out the glue on the inside of the deck. More scraping is required to do the initial fairing. As a note, The regular wood glue seems to scrape up easier than the water resistant stuff. The water resistant stuff seems to be more rubbery, where as the regular stuff is more brittle and chips off easier. Not enough of an issue to make me choose one over the other, but just an observation.
Starting to fair the inside with a paint scraper. Note, the paint scarper is modified as suggested in the books "CanoeCraft" and "KayakCraft" by Ted Moores.
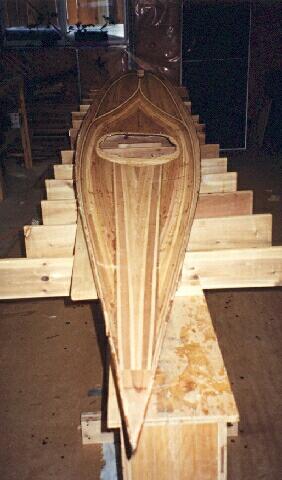
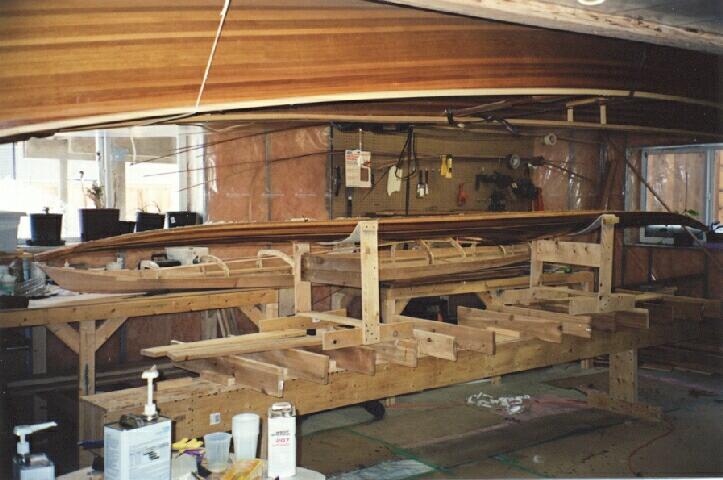
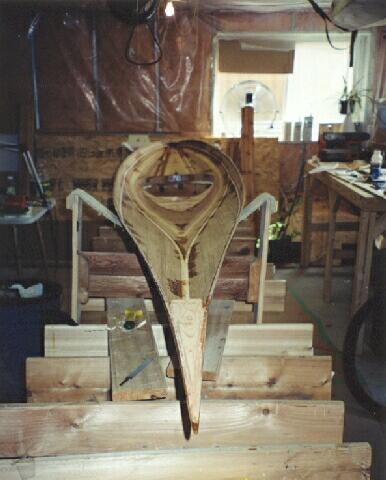
Well I've decided at this point that I want to have the combing riser in place before I fiberglass the inside of the cockpit. Thus I've put the frame back in the hull, and flipped the deck over and put it back together. This section will continue with working on the under deck. Thus I'm out of order cronilogically (sp?) in my diary, but this seems to make more sense frome a point of ease of reading.
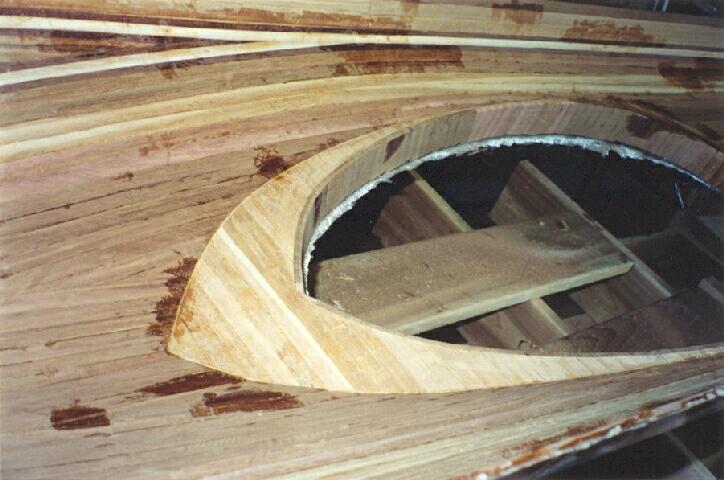
During this time I was using the rounded off paint scraper to reshape the inside of the kayak deck. Where I did not use bead and cove, I had some pretty big disjoints in the deck, where one piece was considerably lower than the other. This again was a result of poor quality control with my bevels, as well as the thickness of my strips. Where it was due to thickness was not really an issue as I could just work the thick piece to match the one next to it. However when it was due to a glued bevel joint shifting down, I ended up with a pretty thin wood core. In some instances, I infact left one side a bit high, with the intent to fill it to a smooth enough transition using sawdust thickened epoxy. This is so the fiberglass will maintain a continous contact with the wood.
Normally you want to have the scraper handle almost parallel to the surface you work, and you pull off thin shavings. But (and I'm not sure I recomend this) I brought the scraper up closer to 60-80 degrees and found I could really cut material off quickly. Kinda scary though, as it would rip out a bit, so I'd only try to removed about a 50% of the thickness of any 'proud' strips, if the tearout was going down into the hull, I'd stop and come at it from the other direction. Then once I was at a more resonable differnce in strip thickness, I'd go to the more normal aproach.
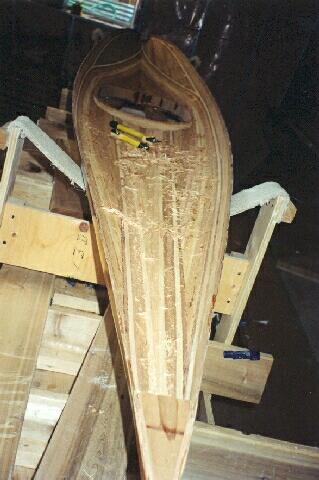
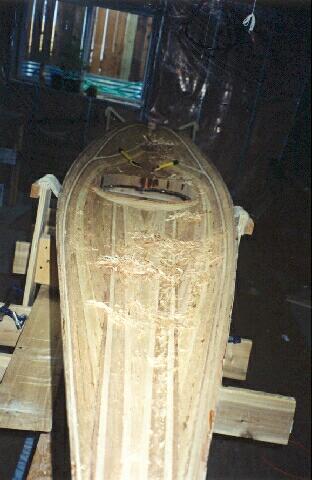
here are some customary pictures of the shavings resulting from scraping the inside of the deck/hull.
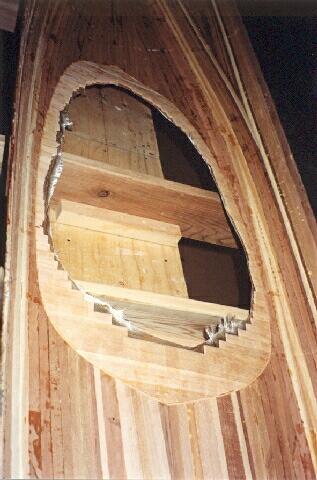
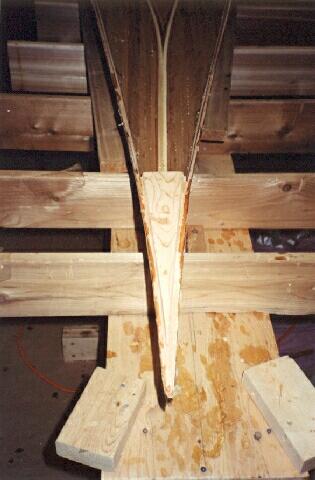
Spent about 30 more minutes with the scraper, then called it done. And cleaned out all the tailings. Now, The combing riser, comes down into the bottom of the deck by about 1/4 of an inch or so. I have to get that down flush before I can fiberglass.
I tried using a Coping saw, and my model saw, but both turned out to be a bit unweildy. The good old wood rasp seemed todo the trick. I used it to both bring down the lip, and to round off the edge so that the fiberglass would behave better when it turned from the deck to the inside ofthe combing lip.
I spent about 45 minutes filling in cracks with thickened epoxy. Earlier choose not to scrape everything fair, as on the underside of the deck I have the option to 'fair' (and I use that term loosly) the surface by filling with the thickend epoxy. Which is what I did today.

TIP: Another tip I read from the KBBS was that vinegar can be used to clean epoxy off the hands. (but everyone always wears gloves, right?!) I usually do, but they rip, and once in a while I will be careful and not get any on my hands today, as I'll only be using epoxy for 30minutes or so... The more I use it the more my tolerance for not using the gloves decreases. (Update:) I've since witing the above broke down and bought a box of 50 pairs, so I have lots now and use the all the time.
More time with the scraper, this time scraping off bumps from filing in the cracks with the tickened epoxy
Hand sanding the inside of of the deck with 60 grit sandpaper I note that I may have to put on more thickened epoxy in spots.
Went out and bough a sanding pad for my drill. I cut groves running from the center out to the edge to help let the pad bend to then interior radius of the kayak. Note these groves did not go right through the pad. The disk sanding paper, seemed to catch and rip, bit worked well in areas without much radius to the curve.
I also spent an hour filling in more cracks with the thickened epoxy, Then on Wednesday I scraped off the rough spots. Thats it, no more work on the inside prior to fiberglassing.
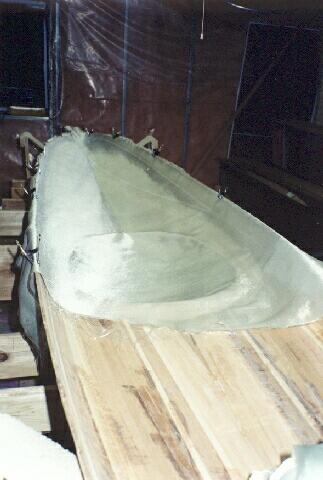
Laid out the fiberglass on the inside. One happy thing about The deck for this kayak, is that my angle scrap pieces fit nicely on the inside of the deck. I used the 2 pieces, overlapping them in the cokcpit region for extra strength. It would have been nice to have slightly more material, so I could overlap a bit more, but the fit was just right, with less than 1/4" to spare on the width. (TODO: add sketch of the layout)

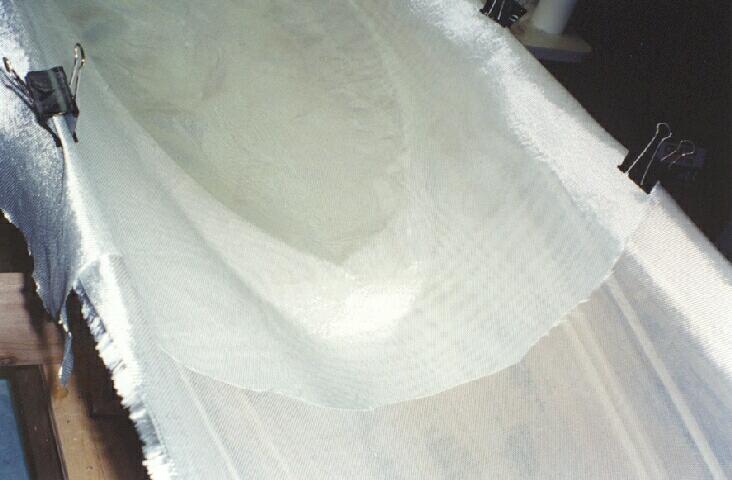

Actually, I probably could have pulled it to have a greater over lap at the center of the kayak and not had it cover the wood at the edge of the deck. The region that would not have been covered would have been about a inch or so wide, and that would be covered later when the deck and hull are joined, by the two layers of interior fiberglass tape.
With the trouble I had doing two layers in the inside of the canoe, I figured I should start the epoxy of the fiberglass from the double covered section in the center of the kayak and work to the ends. That way no wrinkles will be pushed to the center of the kayak under the top layer of glass after I had it all smoothed out.
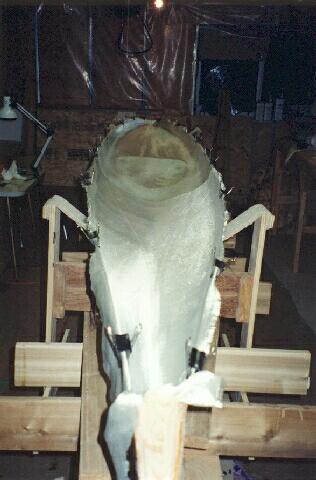
I got the first coat of epoxy on between 2:30 and 5:00, I did observe some out gassing when I started, but tipped this off easy enough. I again had difficulty where there were two layers of glass at once, but I just took my time and worked through it. I'm glad I started from the center as there were no wrinkles pushed in from the ends.
One thing I noticed Was that it was easier to get the glass to sick to the side at the edge of the hull if you do not let the glass over lap the edge by more than 1.5 inches or so. This prevents the fiberglass from folding over due to gravity. The folding over causes the sharp bend in the fiberglass to create a void right at the edge. If it does fold over, cut the fiberglass back to an inch overlap, this is after you have it the locals interior section epoxied. However if you leave to little at the edge, it is harder to avoid having the brush snag the edge of the fiberglass and pull strands out, makeing a mess in the epoxy.
The sequence that seems to me the best for the layout I had is as follows
The second coat took 1/2 an hour.
Just a bit of putting around, Cleaned off the fiberglass at the edged of the deck, and on the combing. Removed the tape on the edge of the Hull, which took alot longer than I thought it would. Pulling the tape off left alot of gummy residue. I wonder how to get this off without compromising the epoxy bond later when the fiberglass is put on. Putting the tape on way back when I stripped the deck was a mistake. Having the tape on for such a long time really made it stay stuck to the kayak.
I placed the deck onthe hull, Yikes! the deck is about 2" wider than the hull. I paniced for a bit, looks like the non fiberglassed hull needs to be pushed out a bit prior to glassing.
The fiberglassig from the previous days is nice to have done. I have some bubbles to fill using a seringe to inject epoxy. and it looks "blotchy" from the filling I had done, but that is acceptable to me, I'm not going to be paying any attention to the looks inside the hatches and cockpit.